I am Lovin'TheGoodOleDays!


Welcome to my blog. I'm glad you're here. You'll find information about my shop; favorite recipes; features of other crafters and artisans; tidbits of beach living; and the ups and downs of life.

Yes, there were some things about the past that were definitely great, but everyone's list is slightly different. This blog is my contribution to the things that make life great, and not so great. Like all things, this blog will grow and change as I do. Come grow with me.
Showing posts with label garden. Show all posts

Saturday, June 20, 2015

The Making of My She Shed...The Early Stages


Without going into too much detail, let's just say I prefer not to share the yucky drama of my life. But, things are finally back on track. I've gone from four part-time jobs to one pretty good one, as far as jobs go, and things have settled down in other areas.

I think I take after my mother in that I have what I refer to as a project mentality. My latest project involves turning our shed into my own personal sewing space, which I recently learned is quite popular these days. I was going with "Mom Cave," but when a friend shared a post on "she Sheds," I realized I was smack dab in the middle of a growing trend. My friend also pointed out that men like dark spaces and women tend to like it light. So true and so funny, since I had already asked my husband if he could add a window to let some light in.

Unfortunately I don't have a true representation of the actual before shot. My before picture is relatively neat, but still shed-like.

Neat, but still a shed.

Today I decided to work on my garden planters, finally. I'm all about upcycling when I can, so here is my little tutorial on how to turn a plastic kitty litter bucket into a planter.


Start with two clean kitty litter buckets. These are 35lb buckets, but there are smaller ones. I like these because they have handles so they're relatively easy to move around.


Using a hammer (or a mallet in my case) put some holes in the bottom for drainage.

Now comes the fun part...


I knew those old shower curtains would be useful one day. Using spray paint which can be used on plastic (very important) paint the entire outside, but not the bottom, of the buckets. I actually went back a few times, once to make sure nothing showed through, and then to touch up spots and make sure the handles were all covered. I did not paint the insides because I thought that might not make the plants too happy. One can, just under $4.00, was just enough to do both buckets. I chose Moss Green because I wanted the planters to blend in with the environment, but there's a nice selection of colors to chose from.


All done. (OK, I know the flowers a looking a little sad, but the nursery was going to throw them away, so I got them for free. I'm hoping they pull through.)


Here's the  other one. The handle is all but invisible. (This is another rescued plant. It was my mother's and wasn't doing too well. I'm hoping being outside in a bigger container will do the trick.) 

Not quite sure what the next post will have in it, but I am in the process of cleaning it out even more.

Do you have a she shed? I'd love to see what you've done with it. Please share you blog posts in the comments below.

Thursday, July 10, 2014

My Wild Backyard...Toad Camo

When I was a kid we went camping every Summer at Seashore State Park on the bay near Virginia Beach. It was the best; no electricity, no cell phones or other electronic gadgets (basically because they didn't exist yet) and we had to hike to the outhouse...with flashlights. The campground was all filled with a maze of paths and overgrown obstacles. One of my favorite memories is hunting for tiny, perfectly camouflaged toads. Of course, I always let them go. The fun was in finding them.

Now I'm all grown up and don't have time for such childish things...yeah right!  There's always time for fun and the joy of discovering nature, especially in my own wild backyard.

If I sit very still no one will see me...
You can't see me, right?


Peek a boo...I see you.


Why, hello little one. Aren't you a cutie?


I love exploring in my backyard. I wonder what I'll find next? Do you have any cool critters in your backyard, too?

Monday, July 7, 2014

Now We're Composting!

If you consider yourself the least bit "green," "Eco friendly," or are consciously trying to shrink your carbon footprint, then composting is something you should know about and incorporate into your daily life.  It's great if you have a big space, but even small areas can be used. When we lived in a townhouse in Philadelphia we had a small compost area in front of our home, right behind our tiny garden.

But now we're in a community that is much more suited for composting. Lower Slower Delaware may be a tourist destination for its beautiful beaches and tax-free outlet shopping, but it is still mostly farm country. Chicken farms and local corn are everywhere.  And we now have a yard and a place for a proper compost area, surrounded by lots of trees.

I recently went to a class at the local library on composting by a Delaware master gardener, Carol Kinsey. That is one lady who sure appreciates the value of composting. She was both knowledgeable and enthusiastic. I was already composting, but after that class I changed things up just a bit. So, I thought I'd share what I learned about composting with you, so that you can benefit from it, too.

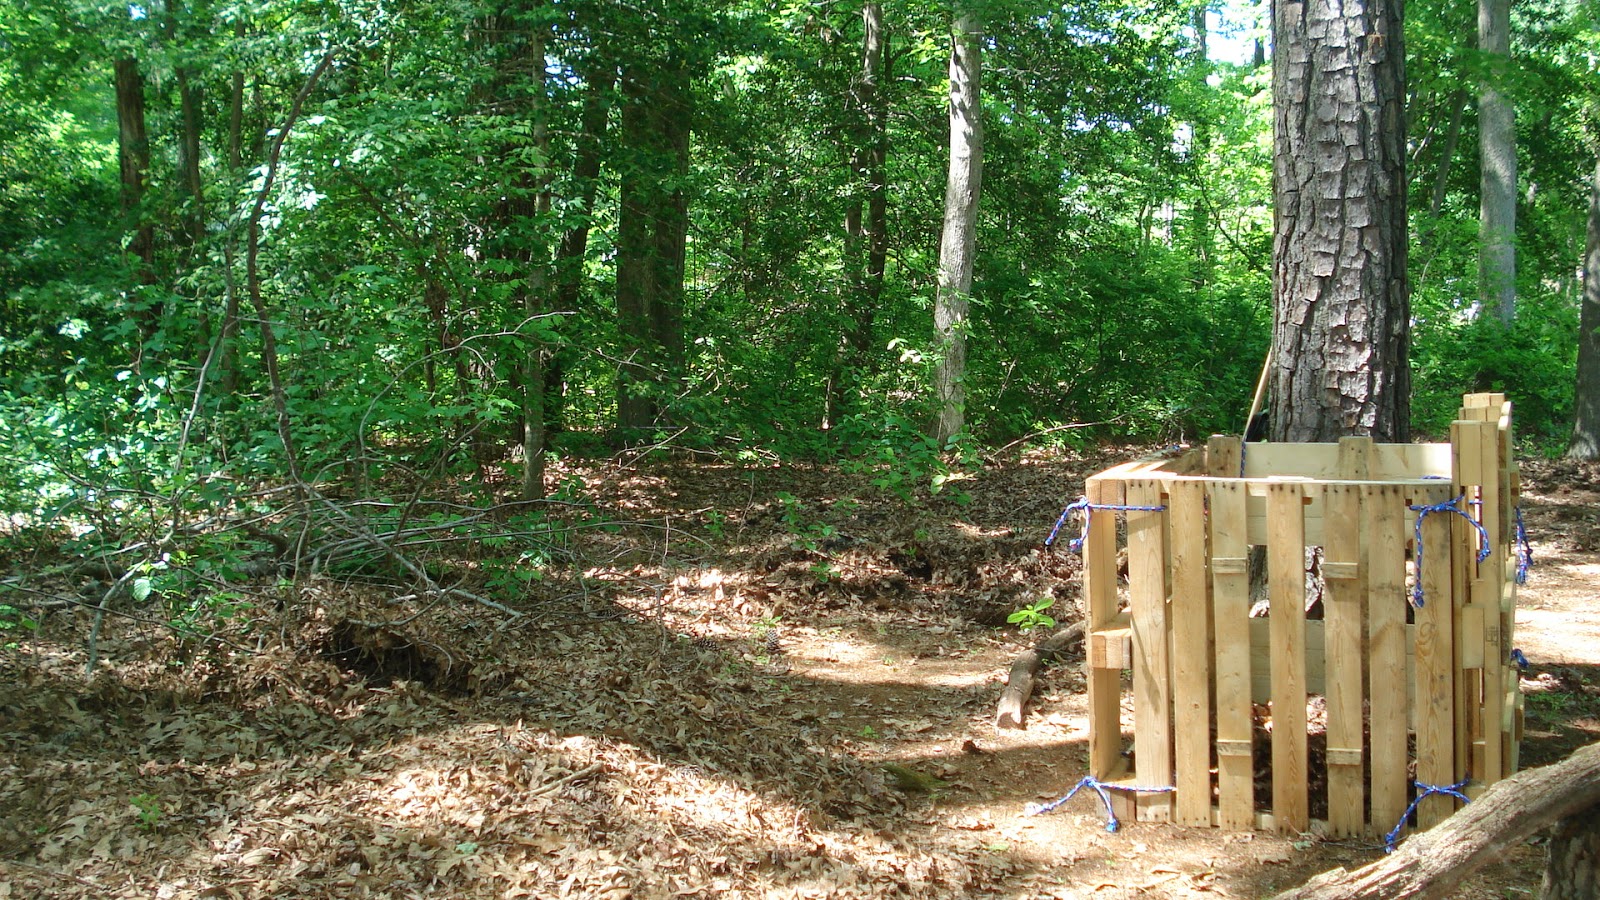
My husband brought home some pallets just so I could make a compost bin. (Awe, he does love me.) I picked a spot in the yard near the shed, along the tree line. I wanted the bin to be sturdy, but easy to disassemble, so I tied the corners together at the top and bottom with rope. If you have zip ties they work well, too. You will make a box, but with no bottom and no top. The reason you want it to come apart easily is so that you can turn the mixture.

Check out the one I made.


It's best to have pallets that are all the same size, but when you're working with free materials you work with what you've got. I recommend adding chicken wire to the bin to help keep small thing from falling out, or critters from getting in. (I did get some, just need to attach it.)

The next step is to fill it. The ideal ratio when composting is 3:1,  3 parts "brown" to 1 part "green." Your browns are your carbon source. These include leaves, newspaper, wood shavings and sawdust, paper towel. Your greens are the nitrogen source. These include grass clippings, old vegetables, coffee grounds and the filter, tea bags, egg shells and the carton. Manure from animals that do not eat meat is excellent for your compost bin, too. (As for me, the only manure I'm adding comes from our gerbil.)

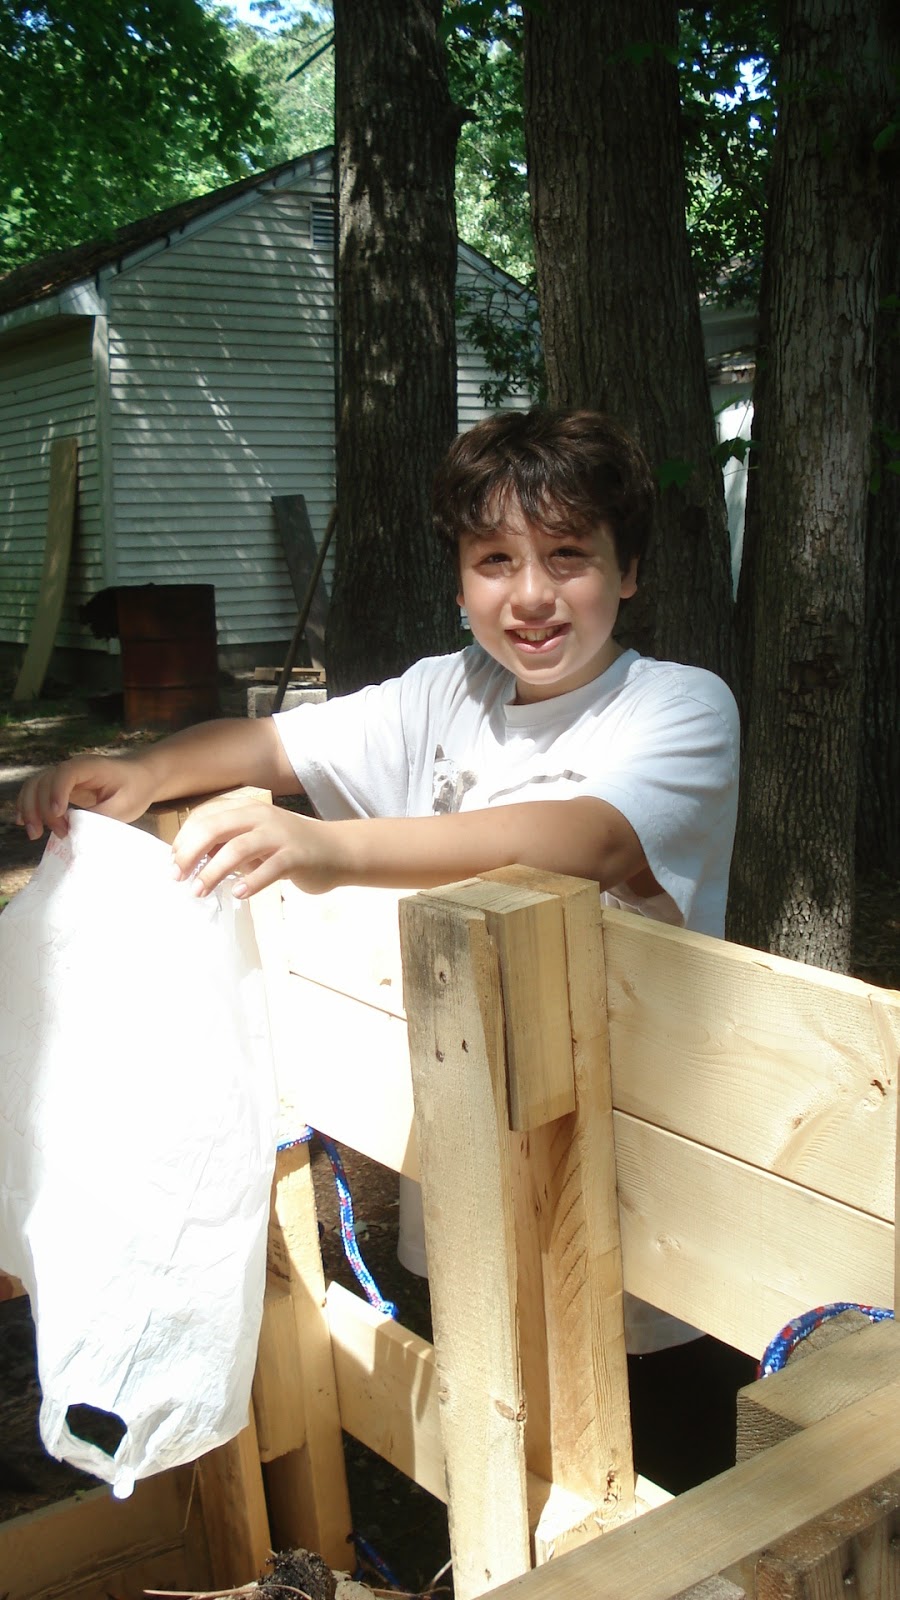
Here's my little helper adding the bedding from his gerbil's cage. (How cool is that? The bedding, the food, and the manure are all good for the compost bin.)


I keep a large coffee can in the kitchen for coffee grounds and veggie scraps so I am not constantly making trips out to the compost bin. You do not need to cover it; it doesn't smell. It's actually better if you don't. Otherwise it gets real funky real fast. (Just trust me on this one.)


After every time I add compost from the kitchen I shovel enough leaves onto the top to cover everything. This keep the ratio as close to ideal as I can get it, plus it keeps things tidy. Our home is bordered by a vacant lot, so we never have to worry about having enough leaves. See what I mean?


Here's a close up of the compost bin in action.


You will want to keep it moist, so if you're in an area that doesn't get a lot of rain, you'll need to hose it down once in a while. You want it wet, but not saturated. Then just wait. In a few months you'll have the kind of compost your garden will thank you for.

Just remember...


So, what are you waiting for?


The above image is from an informational brochure I was given at the composting class. Click here to see the brochure in its entirety.

Friday, June 6, 2014

My Wild Backyard

I was in my backyard the other day and I happened upon this very interesting little guy.  It was on the roof of my shed just about at eye level. I'd say it was a tad bit bigger than an inch long; big enough to make me not want to bug it, but small enough, and so well camouflaged that it could have gone completely unnoticed.


So I googled it and came up with some facts.

  • It is commonly known as the Eyed Elator, Big-eyed Elater or Eyed Click Beetle.
  • It is a beneficial insect, meaning it's a good one to find in your yard or garden.
  • Larva measure up to 2 inches while adults are around 1 1/2 inches.
  • In the larval stage, they are "ferocious meat-eaters that dine on many other noxious wood-boring larvae, including those of wood-boring beetles." Yum!
This information was obtained from Galveston County master Gardeners, Beneficials In The Garden; Eyed Elator 

I wonder what I'll find next.